Dynmap requires your Minecraft server to be running either Bukkit, Spigot, or PaperMC. A server set up with the official Minecraft server will not work.
This guide is for installing Dynmap on PaperMC but setting it up Bukkit and Spigot should be similar. If you don’t have PaperMC server setup, check out this guide: Setup a PaperMC Minecraft Server .
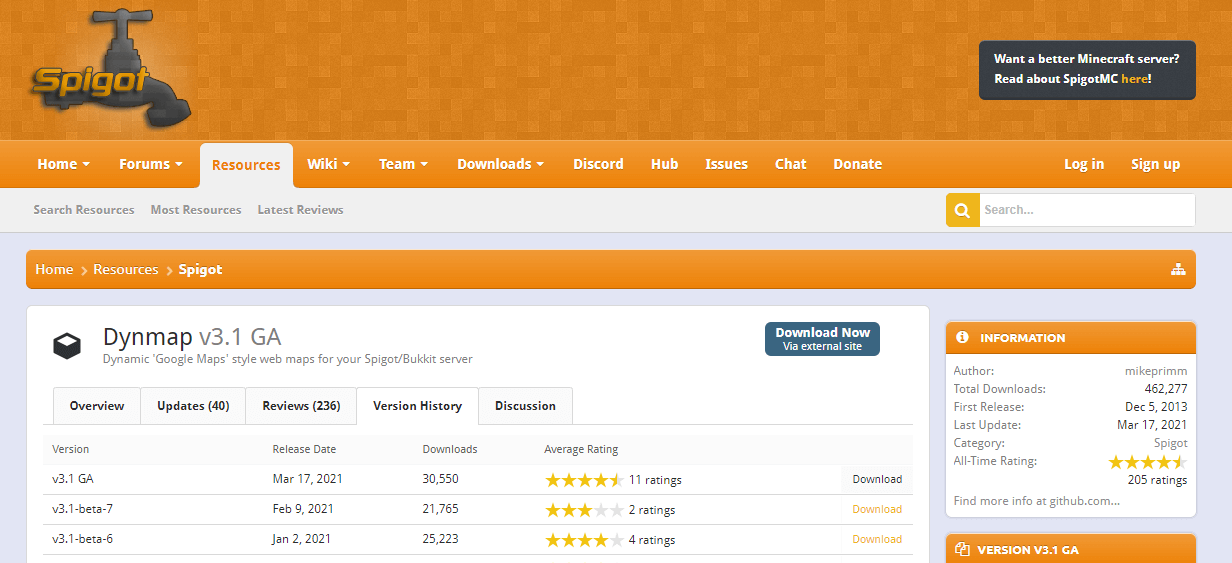
Step 1. Download Dynmap
Click here
and download the latest version of Dynmap by clicking on the download button next to the version.
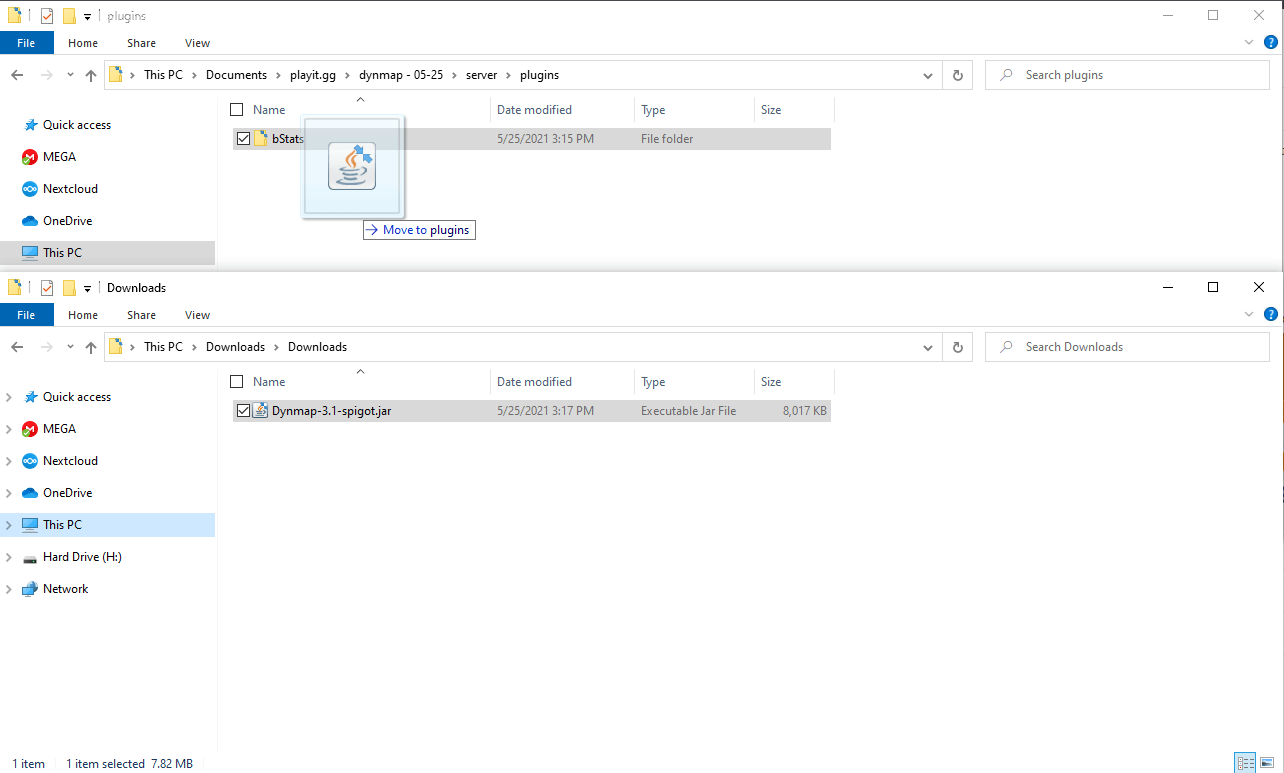
Step 2. Installation
Drag and drop the newly downloaded Dynmap file into the plugins folder located in your Minecraft Server folder (the folder where the paper-server.jar and run.bat if you were following Setup a PaperMC Minecraft Server
).
Step 3. Start your Minecraft server
If you’re currently running you Minecraft server, you’ll need to stop it. With the dynmap .jar file added to your plugins folder, you should be able to start your server back up by running run.bat (or whatever method you use).
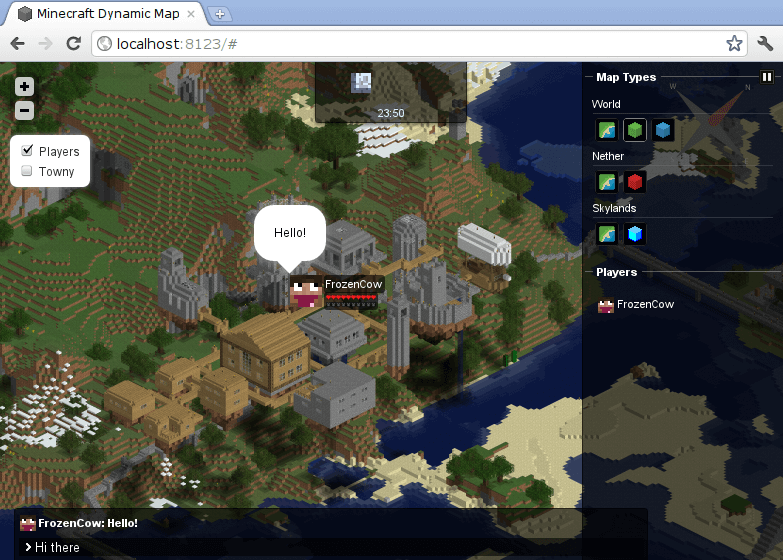
Step 4. Check if the Dynmap is working
Once your server is running, you should be able to visit http://localhost:8123 to view your world with dynmap. If that page doesn’t load, give it a few minutes as it might take some time for your Minecraft server to start. If it’s still not working, reach out for help on our Discord .
Step 5 (optional). Making your Dynmap webpage public
Visit playit.gg/account/tunnels
and press Add Tunnel on the Custom TCP banner.
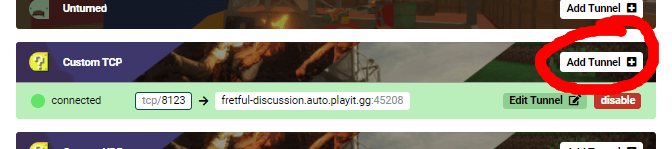
Set the Local server address to 127.0.0.1:8123 and press Add.

After pressing add and giving playit.gg a few moments to prepare your tunnel, you should be assigned an .auto.playit.gg address you can use and share for accessing your dynmap.

Credits
Initial draft was written by Carter Sullivan.